Disable Dynamic Land

Disable Dynamic Land

Disable the Dynamic Island on iOS 18 to iOS 26 beta!

Important Notes:

I’d like to thank @emty2001 on X (formerly Twitter) for his help!

Instructions:

Step 1:

Open Cowabunga Lite, and connect your device. Make sure to disable Find My and iCloud Backup on your device. If you haven't already, take a moment to read the important notes. Additionally, be sure to back up your device before making any changes, so you have a safe copy of your data in case something goes wrong.

Download the zip below, then open it. If you're on Windows, skip to step 3 after downloading the mod.

Step 2:

On macOS, open CL, then navigate to "Custom Operations," and click on "Import .cowperation", then import the 'Disable Dynamic Land' file into Cowabunga Lite.

After you import, click edit, then enable it.

To re-enable the Dynamic Island, simply use the "Enable Dynamic Land" file instead of the one used to disable it.

Step 3:

If you're using macOS, skip this step. If not, follow these steps: Open File Explorer, click on the address bar, and go to: "%4%/CowabungaLite/Workspace" Find your device's UDID folder and open it. If you have multiple devices, and you're unsure about which folder to open, I would recommend you to download the profile below, and grab your UDID, so you know which folder to open and use.

After opening the zip file, open the Windows folder.

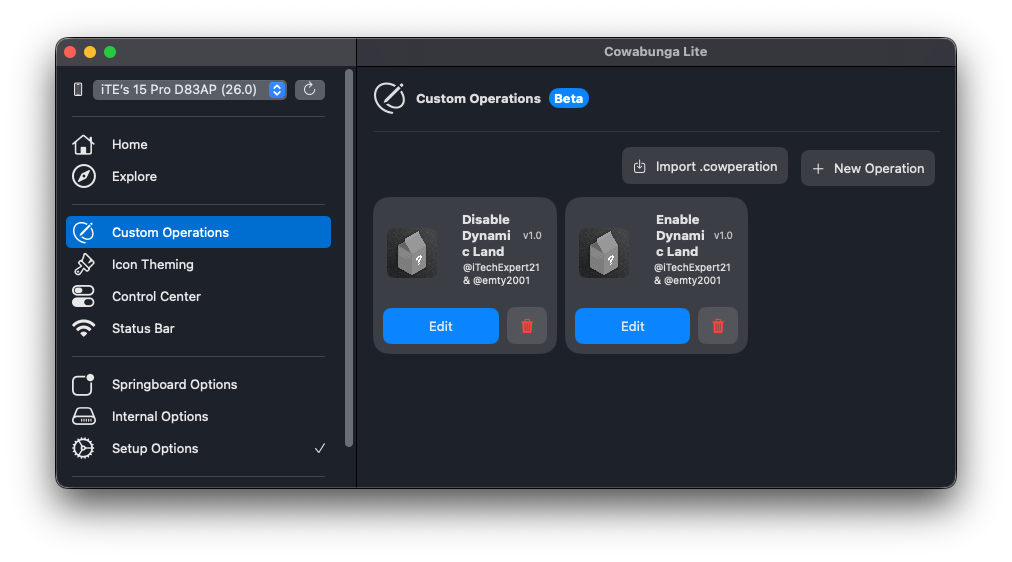
To disable the Dynamic Island, replace the ControlCenter folder inside the UDID folder with the one found in the disable folder. Then proceed to Step 4.

To re-enable the Dynamic Island, replace the ControlCenter folder inside the UDID folder with the one from the enable folder.

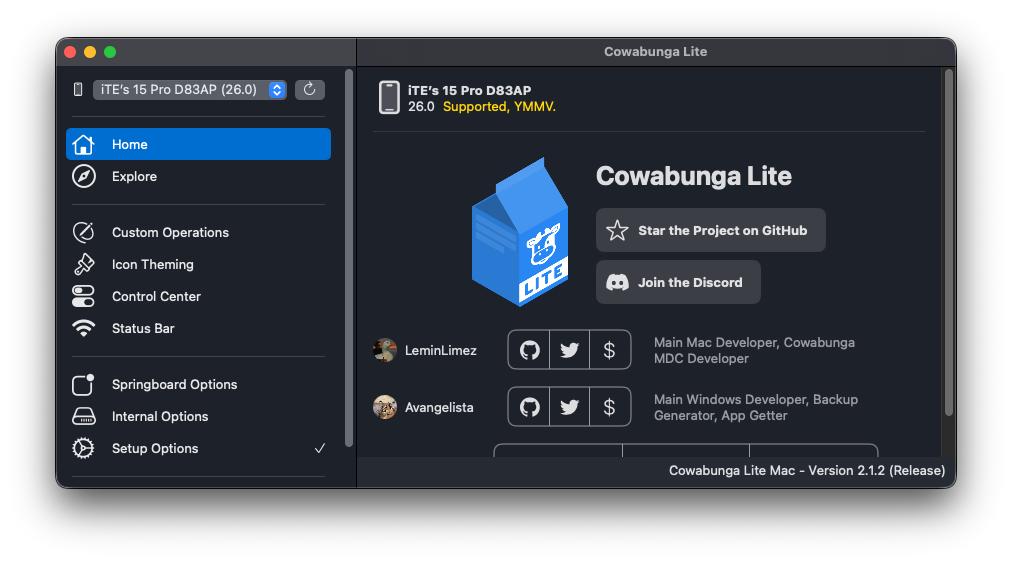
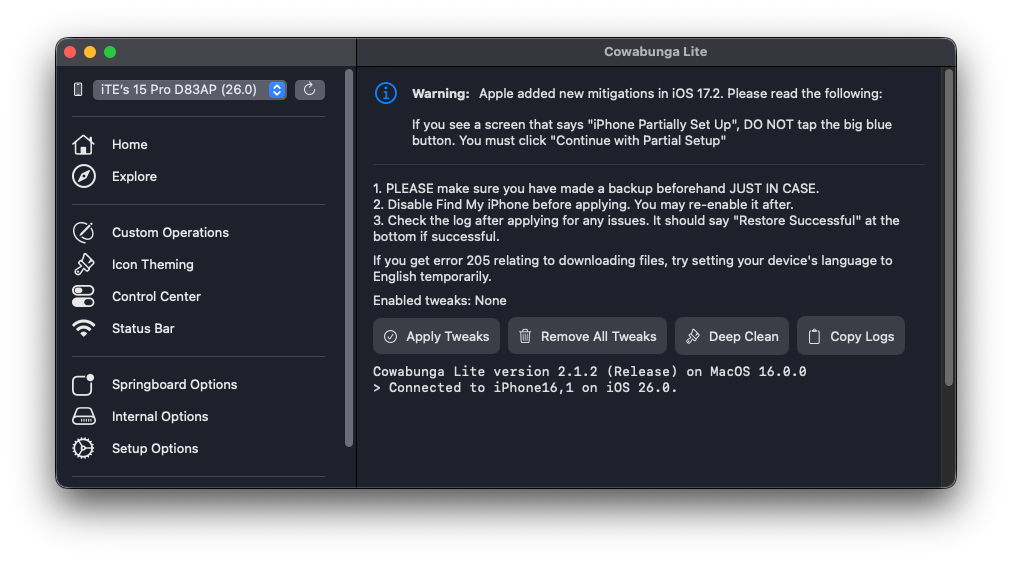
Go to the "Control Center" in Cowabunga Lite, then click "Modify" to enable it.

If you need help with this, here's a Windows video tutorial (no audio). WATCH NOW

Step 4:

Next, go to the "Apply" section and make sure the 'Setup Options' section is turned off to preserve your configuration profiles. For more details, please refer to the FAQ for Cowabunga Lite. Then, click "Apply Changes" (or "Apply Tweaks" if you're on macOS). Your device will display "Restore in Progress." Once the device restarts, you’ll reach the setup screen. Just follow the instructions to complete the setup process.

if you see the "Apps & Data" page with the "do not transfer data" option, select it and continue following the remaining steps.

If you're on iOS 17.2 or higher, you will encounter a new page during setup named "iPhone Partially Setup". On this screen, you'll find two options at the bottom: "Erase and Start Over" and "Continue with Partial Setup". Please select the option below, NOT the first one.

Copyright © 2025 iConfig Realm (formerly iConfig Hub). iConfig Realm is not affiliated with Apple Inc.