Step 1:
Open a web browser and visit ipsw.me or ipsw.dev. Select your device and download the IPSW file for the desired
iOS version. Please note that signed IPSW files are required for downgrades; unsigned versions cannot be used.

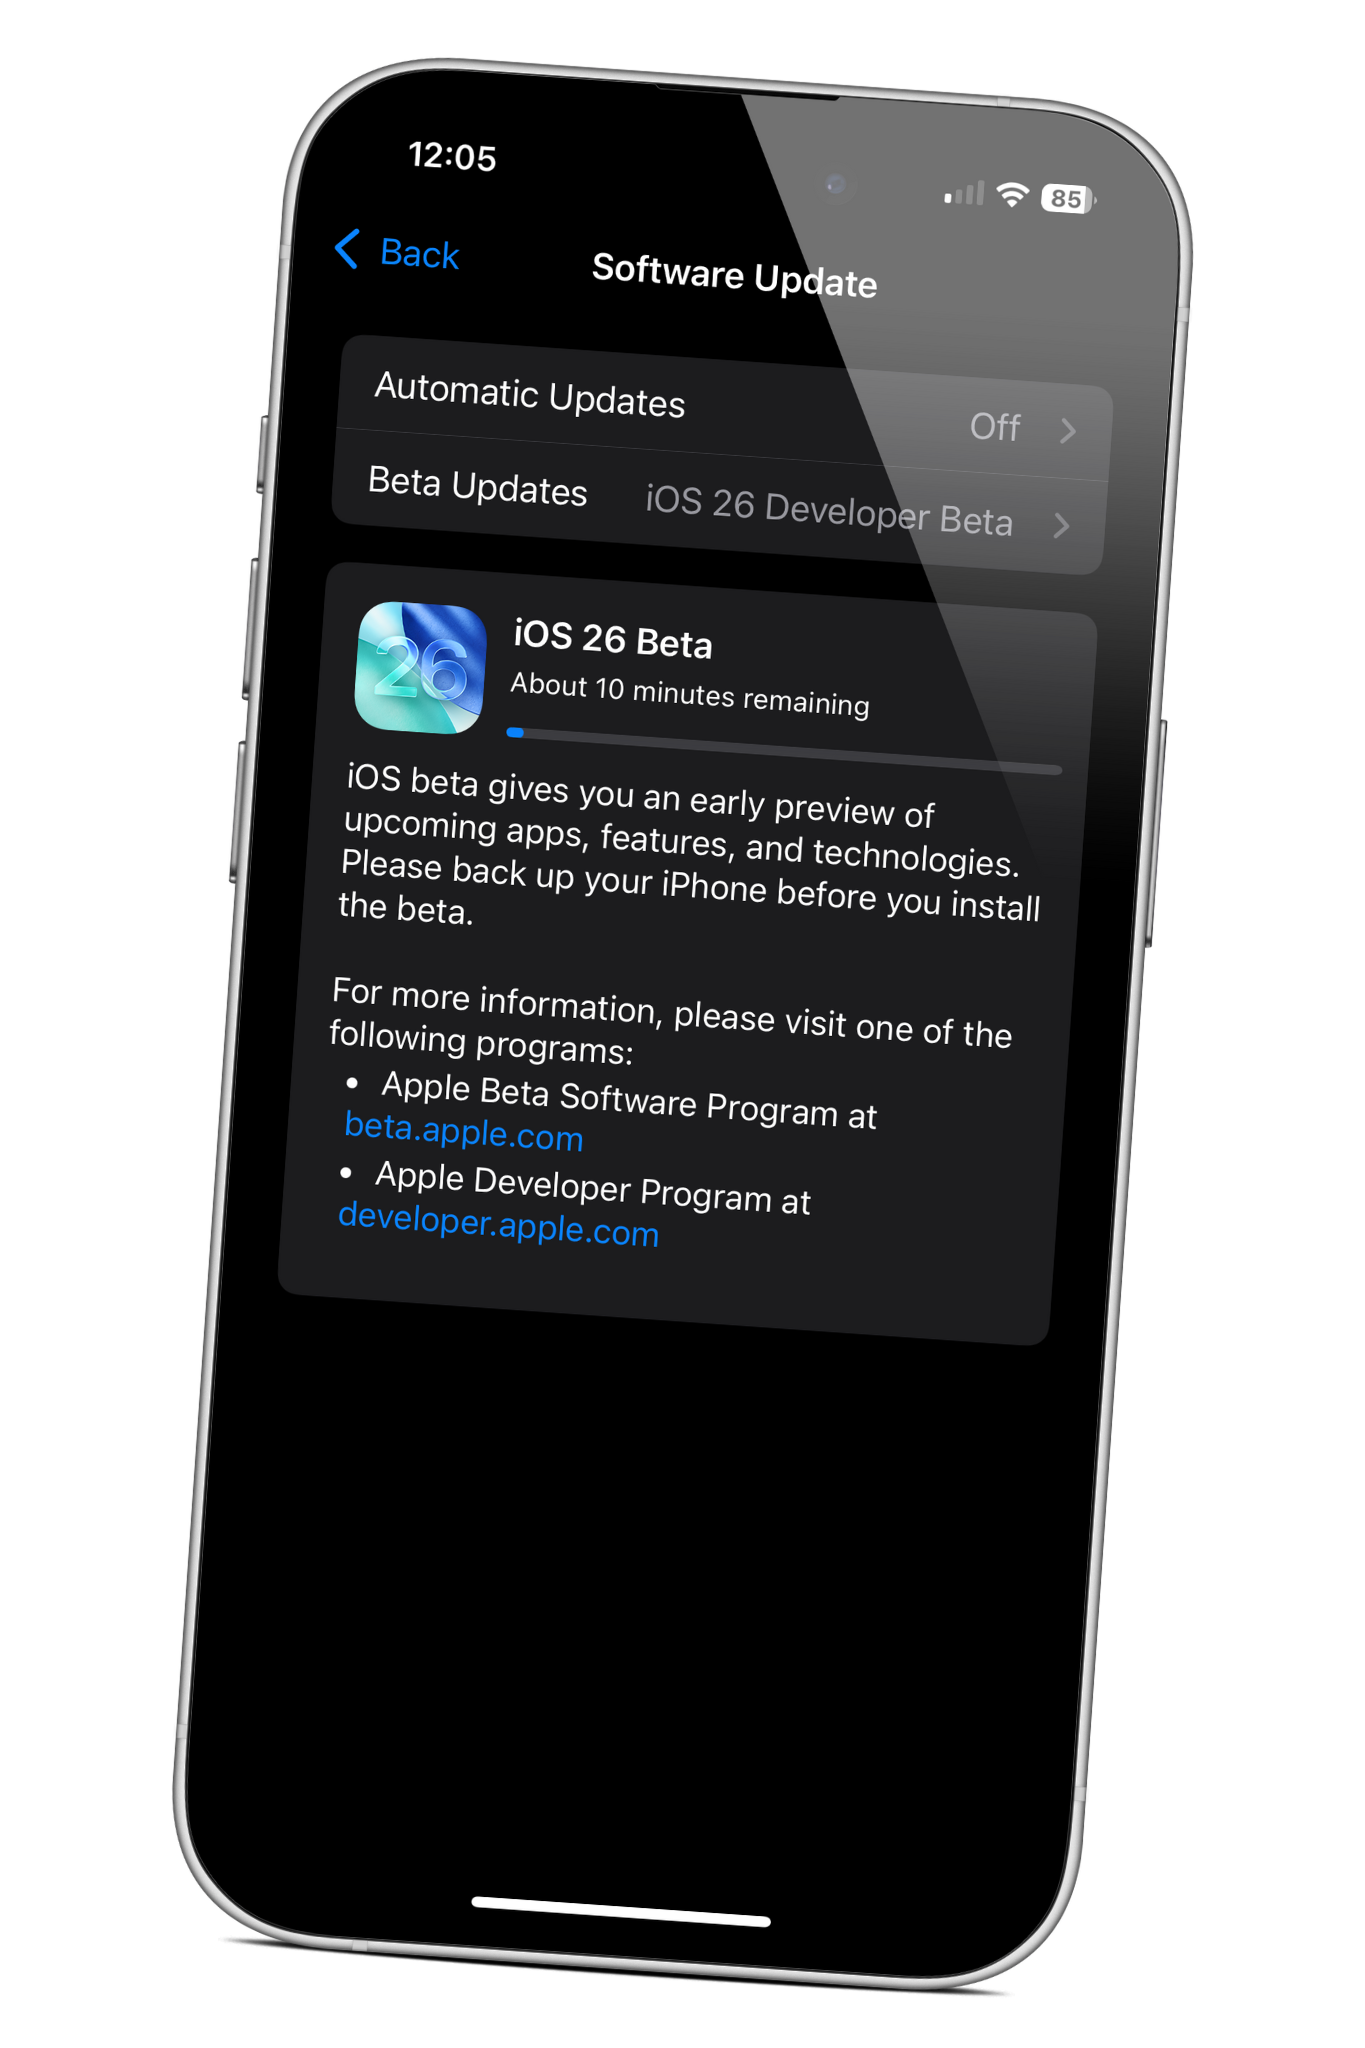
Looking to update or downgrade your device between iOS/iPadOS versions (e.g., from iOS 26.0 beta 1 to iOS 18.5)? Here's a tutorial for you!
If you're updating your device, your data should be safe and there should be no risk of loss. However, if you're downgrading, please note that this process may result in data loss. To ensure you don't lose data, it's crucial to create a backup of your device before performing the downgrade. If data is lost during the downgrade, you can restore from the backup you created beforehand.
If you encounter any issues during the downgrade, don't hesitate to reach out for assistance. You can DM me on X at @iTechExpert21 and I'll be happy to guide you through the downgrade.
If your Mac displays a message like this: 'A software update is required to connect to iPhone,' you can resolve it by installing this MobileDevice.pkg file. This file is taken from Xcode, a software developed by Apple, so it is safe to install.
Want a video tutorial? Click here to watch now → WATCH NOW
Open a web browser and visit ipsw.me or ipsw.dev. Select your device and download the IPSW file for the desired
iOS version. Please note that signed IPSW files are required for downgrades; unsigned versions cannot be used.

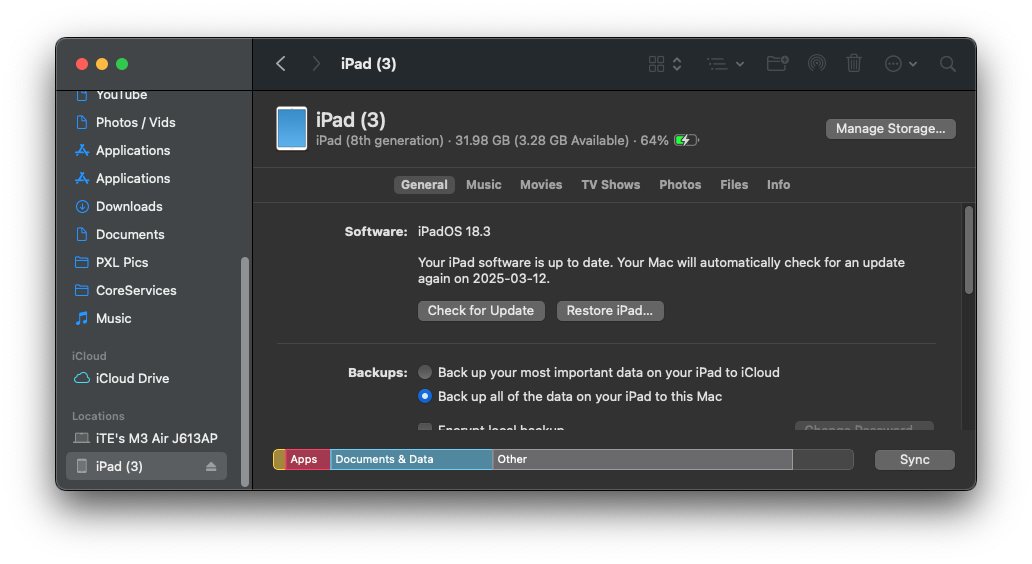
To begin, open Finder (or iTunes or the Apple Devices app on Windows) and connect your device. You should then be able to find it by clicking the device icon near the top left of iTunes, your device name in the Apple Devices app (Windows), or, if you're using macOS Catalina or later, by selecting your device name under *Locations* in the Finder sidebar.
If your device isn't detected, try disconnecting and reconnecting it. If it remains undetected, you may need to put your device into recovery mode. Once completed, your device should become visible. For instructions on entering recovery mode, please visit the website below.
If your device is not detected initially, try the following:
- Disconnect and reconnect your device
- If it still remains undetected, put your device into recovery mode and your computer should now recognize the device.

Next, hold down the Option key on macOS (or Shift on Windows) and click 'Update' (or 'Restore' if downgrading from a beta to a public release). Select the iPSW file from step 1, then click 'Update' or 'Restore'. Follow the on-screen prompts to start the downgrade. Then, simply wait for the downgrade to complete. Once finished, your device will restart and you can set it up again.
*If the 'Update' option doesn't work for you, you will have to rely on the 'Restore' option which will result in data loss. So, make sure to backup your device first before performing the downgrade.*
To restore your data from a backup, scroll down in the device window, click "Restore Backup...", select your backup, follow the on-screen instructions, and your device will begin restoring from the selected backup.
If you're unable to restore from the backup because the iOS version is higher than the one you're downgrading to, you can modify the 'Product Version' in the info.plist file within your device backup. Once you find your backup, open it, and locate the info.plist file. Open the file and change the 'Product Version' to the version you're downgrading to.
Backup locations:
For macOS, open Finder and click on 'Go,' then select 'Go to Folder.' In the search bar, type ~/Library/Application Support/MobileSync/Backup/.
For Windows, press the Windows + R keys to open the Run window. Then, type %USERPROFILE% if you're using the Apple Devices app or iTunes from the Microsoft Store. If that doesn't work, try typing %APPDATA% instead.
