Step 1:
Download and install Nugget, open it, and connect your device. Make sure to disable Find My and iCloud Backup on your device. If you haven't already, take a moment to read the FAQ. Additionally, be sure to back up your device before making changes, so you have a safe copy of your data in case something goes wrong.
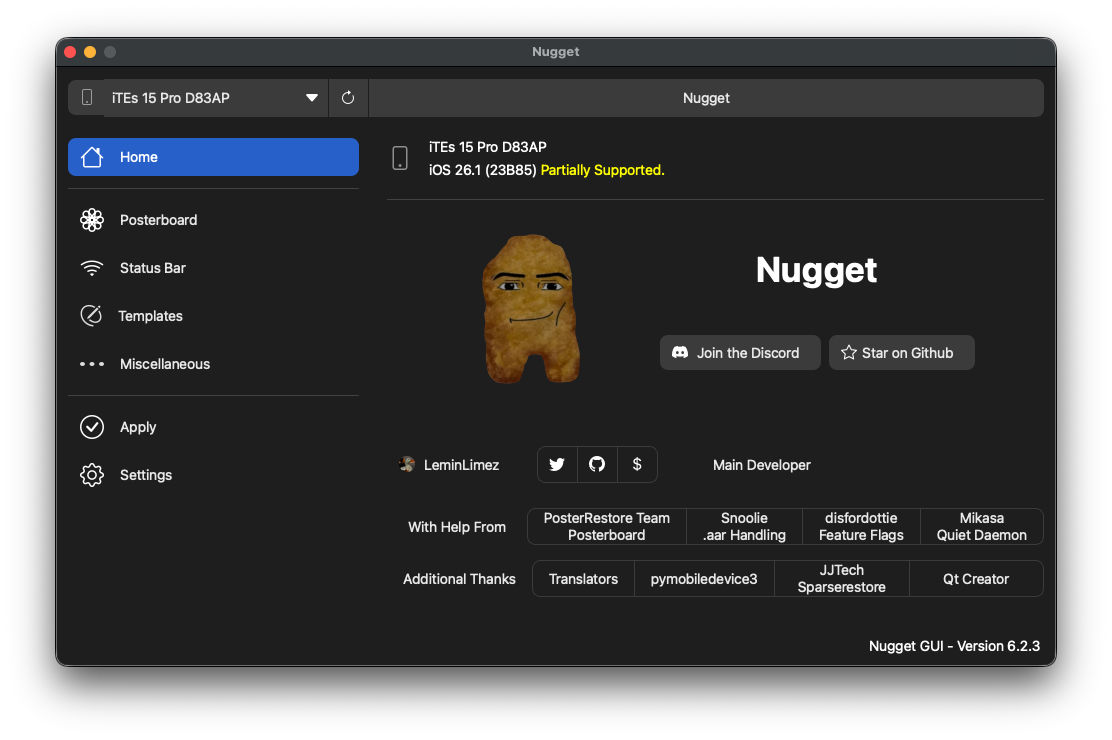
In this tutorial, I'll be demonstrating the features of Nugget that are compatible with my device, which is running iOS 26 beta. Due to the limited availability of features on this version, the tutorial will be brief. However, it will still give you a good understanding of how to use Nugget.
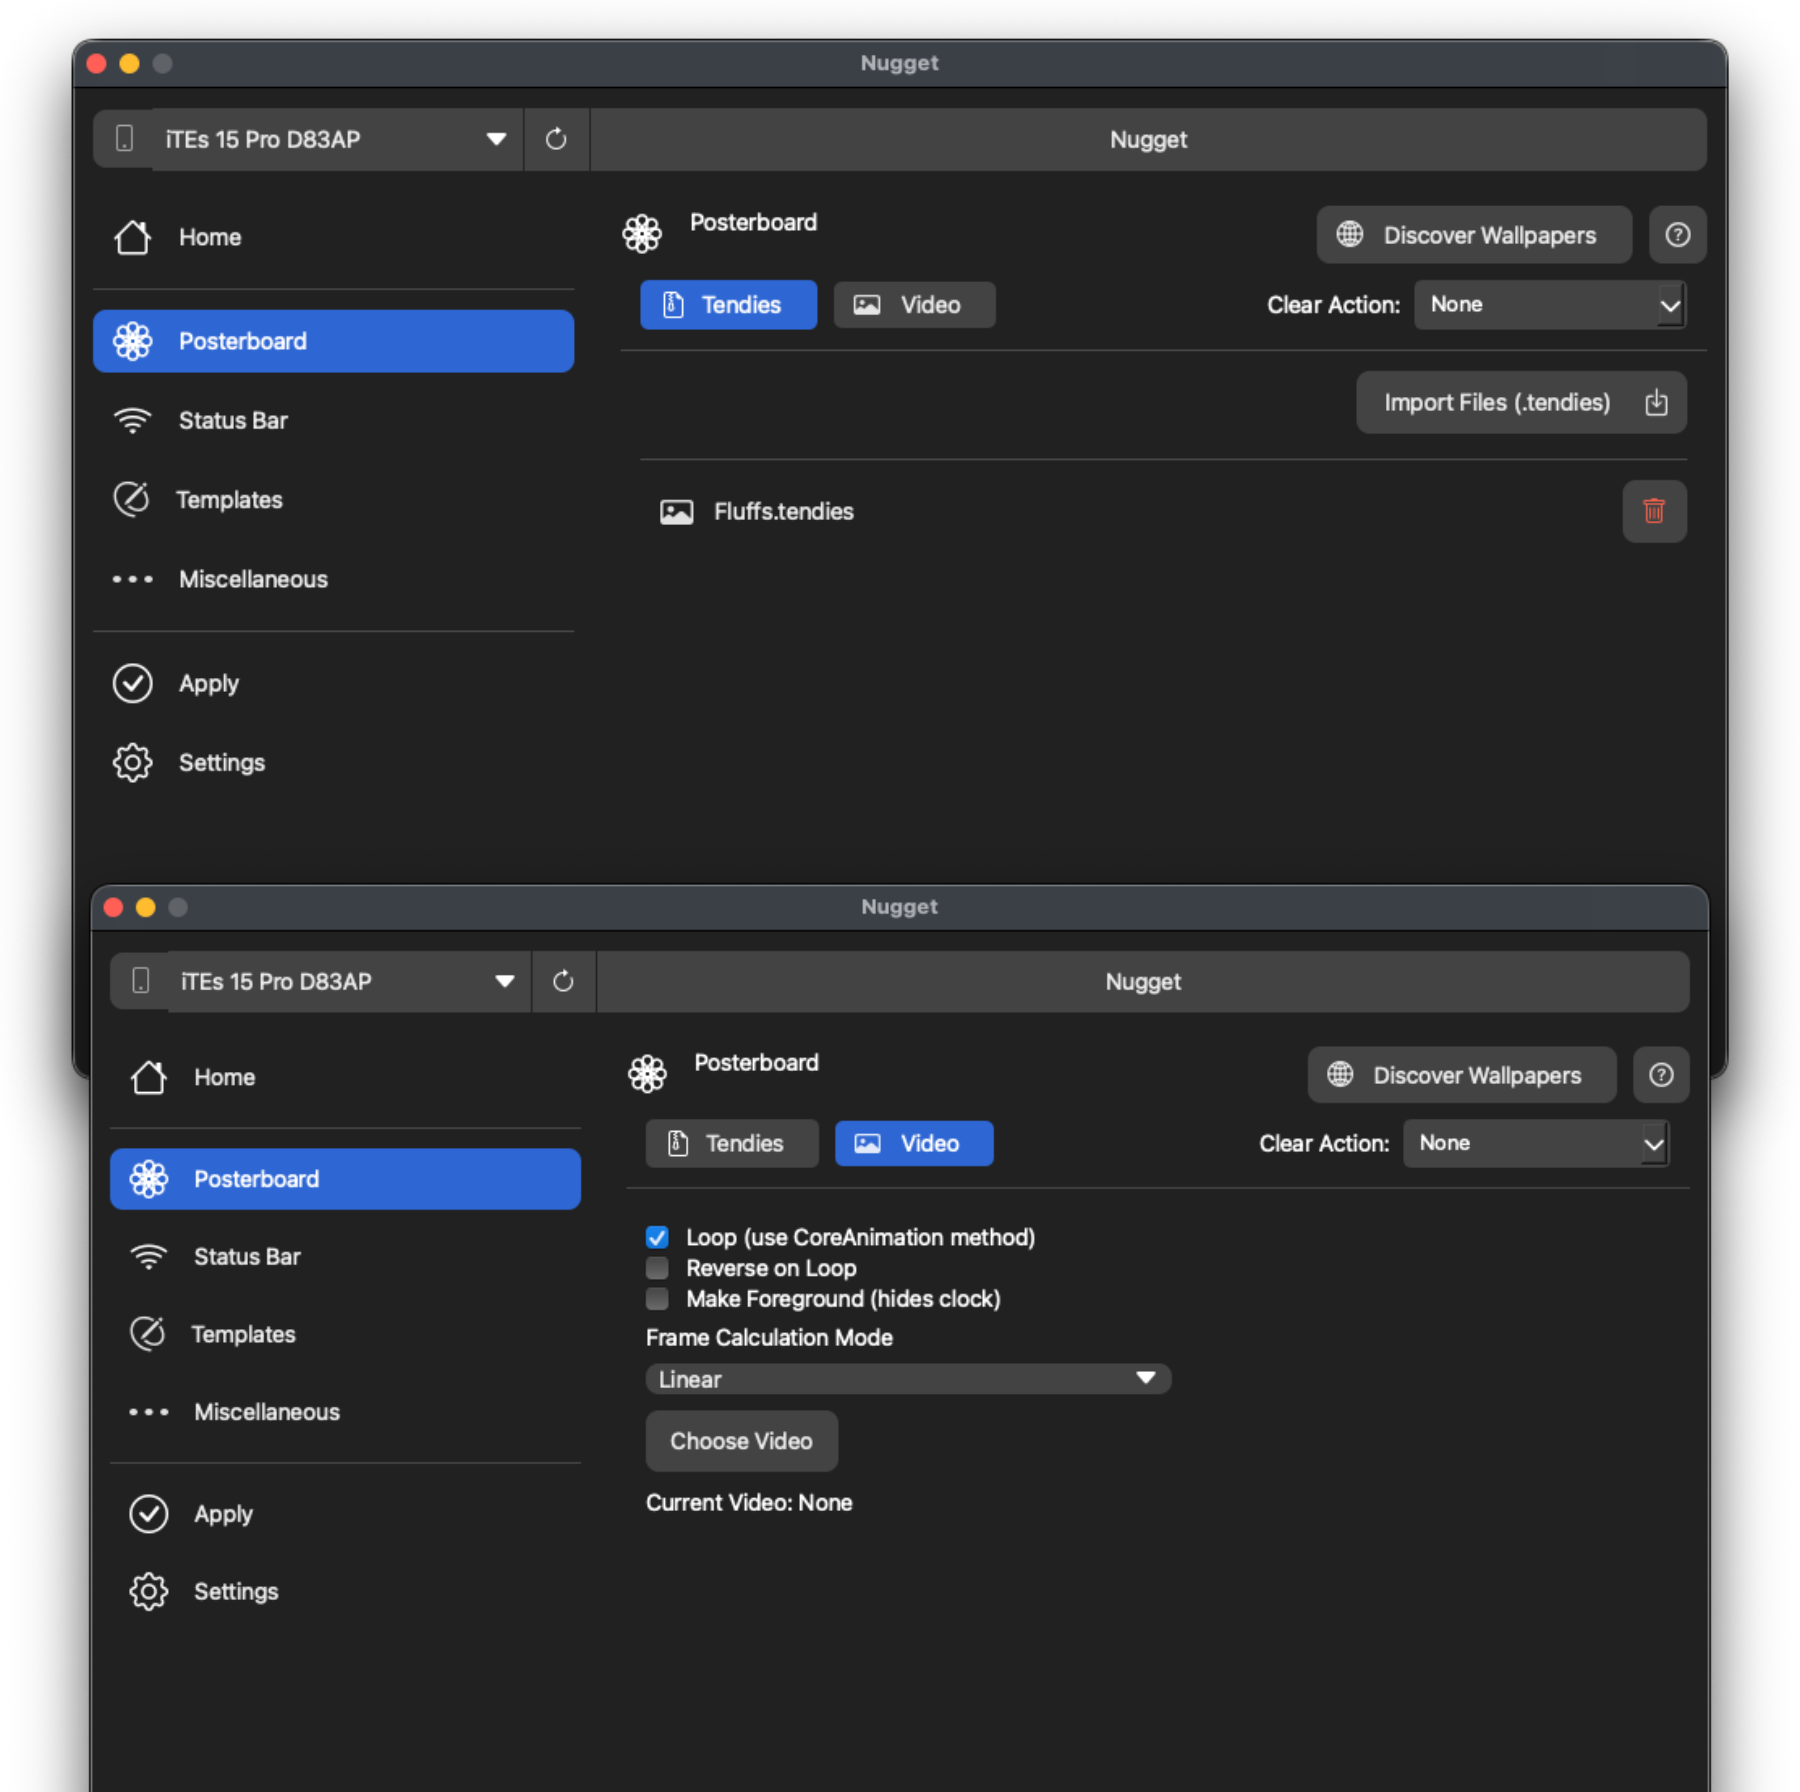
Step 2 (Posterboard):
Ready to personalize with custom wallpapers?
To start, click on "Discover Wallpapers" and explore the options available. Once you find the ones you like, simply download them from the website. Then, click on "Import Files (.tendies)" to import your downloaded wallpapers. For video wallpapers, just click on "Choose Video" to select and import your video wallpaper.
You can also use videos as your custom wallpaper, though keep in mind the video should be under 30 seconds from what I know.
I’m not sure about the exact process for creating these wallpapers, so you might want to check social media or relevant communities for more detailed guidance.
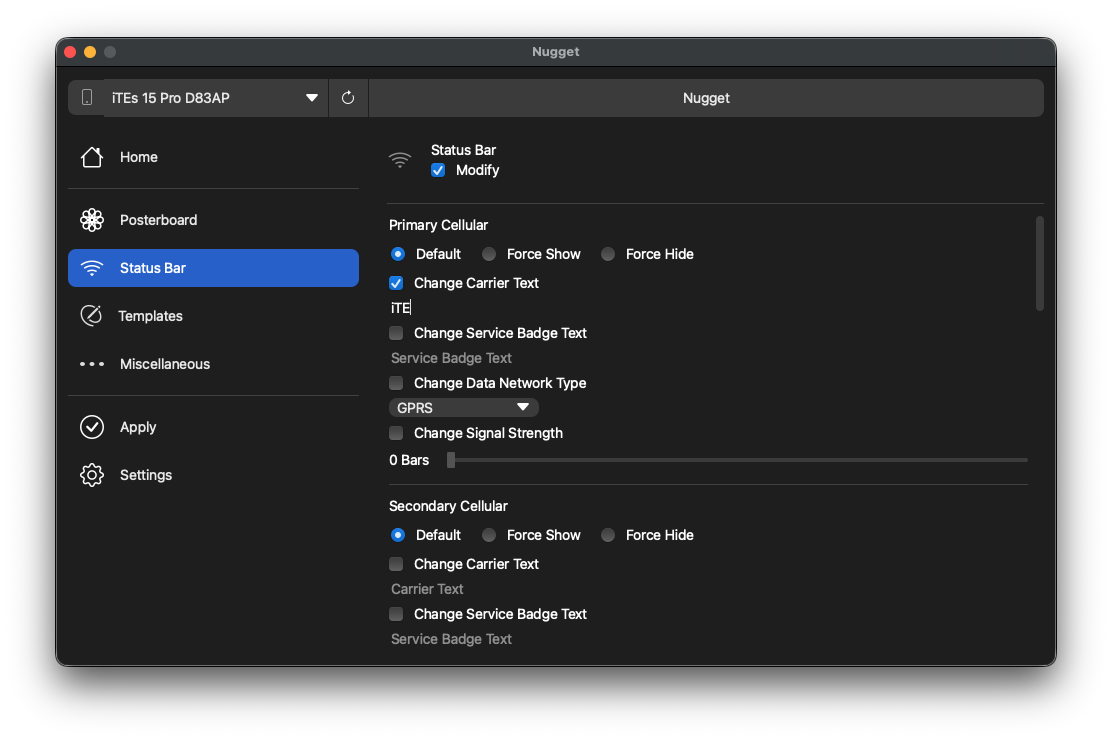
Step 3 (Status Bar):
Time to change our carrier name in our status bar :)
Go to the status bar section and enter your custom carrier name under "Change Carrier text." You can also customize the service badge text, turn on Wi-Fi RSSI in the status bar (note: RSSI is only shown in the control center), and there are also some more customization options.
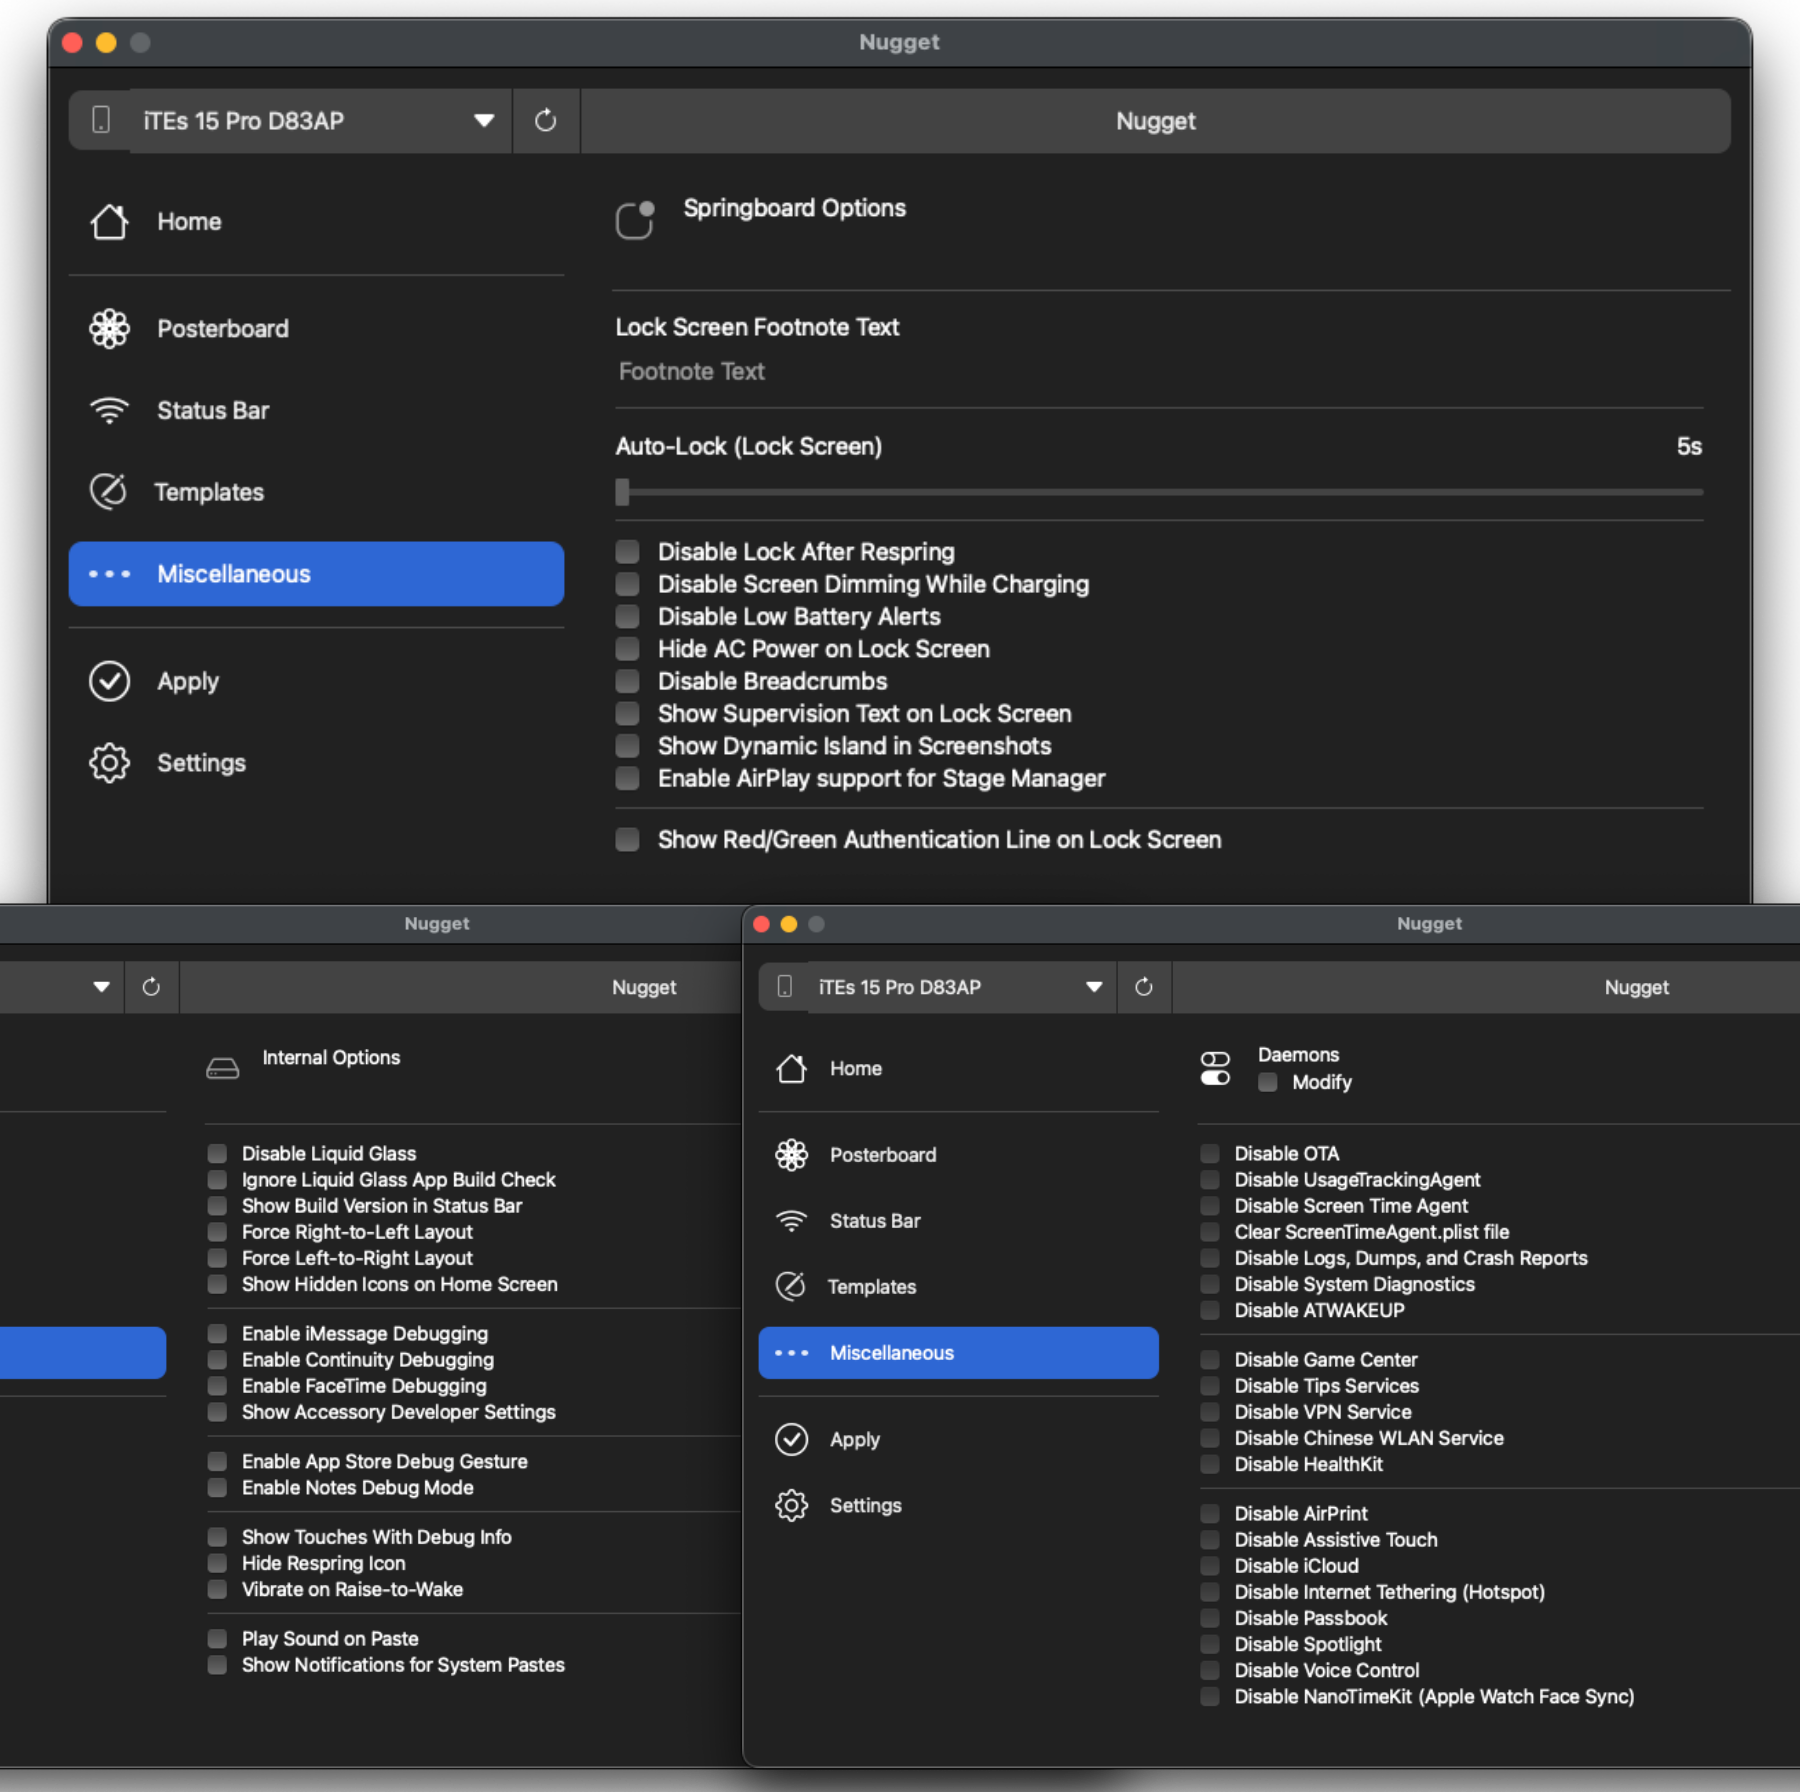
Step 4 (Miscellaneous Options):
In this section, you can disable low battery alerts, display the OS build version in the status bar, enable various debug menus, and more.
Step 5 (Apply):
Next, navigate to the "Settings" section and make sure "Skip Setup" is turned off to preserve your configuration profiles. For additional guidance, refer to the Nugget FAQ. Then, go to the "Apply" section and click "Apply Changes." Your device will display "Restore in progress." Once it restarts, you’ll be taken to the setup screen. Follow the on-screen instructions to complete the setup process.
if you see the "Apps & Data" page with the "do not transfer data" option, select it and continue following the remaining steps.
If you're on iOS 17.2 or higher, you will encounter a new page during setup named "iPhone Partially Setup". On this screen, you'll find two options at the bottom: "Erase and Start Over" and "Continue with Partial Setup". Please select the option below, NOT the first one.