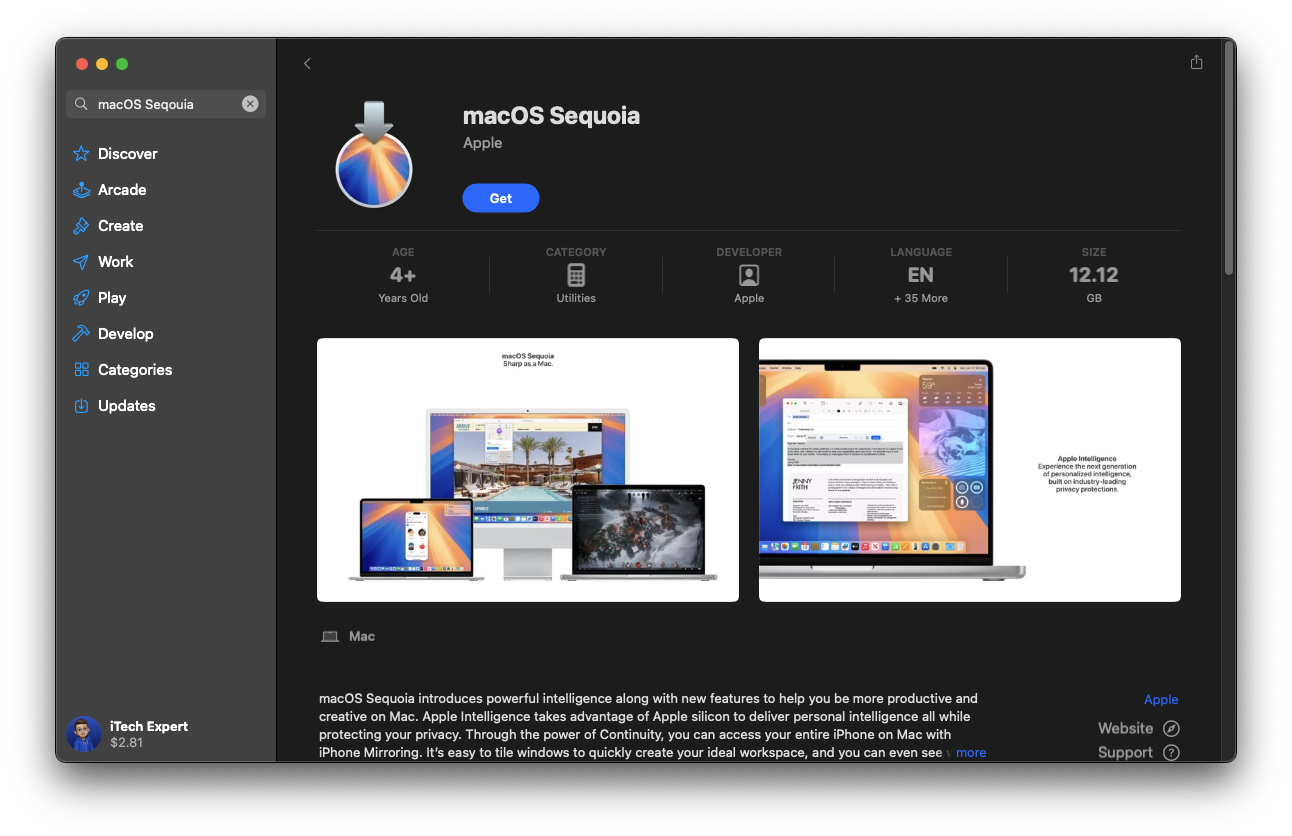
Step 1: Download the Installer
Download the macOS Sequoia installer from the App Store.
Once the download finishes, grab a spare USB drive (preferably one with no data on it) since it will be erased.
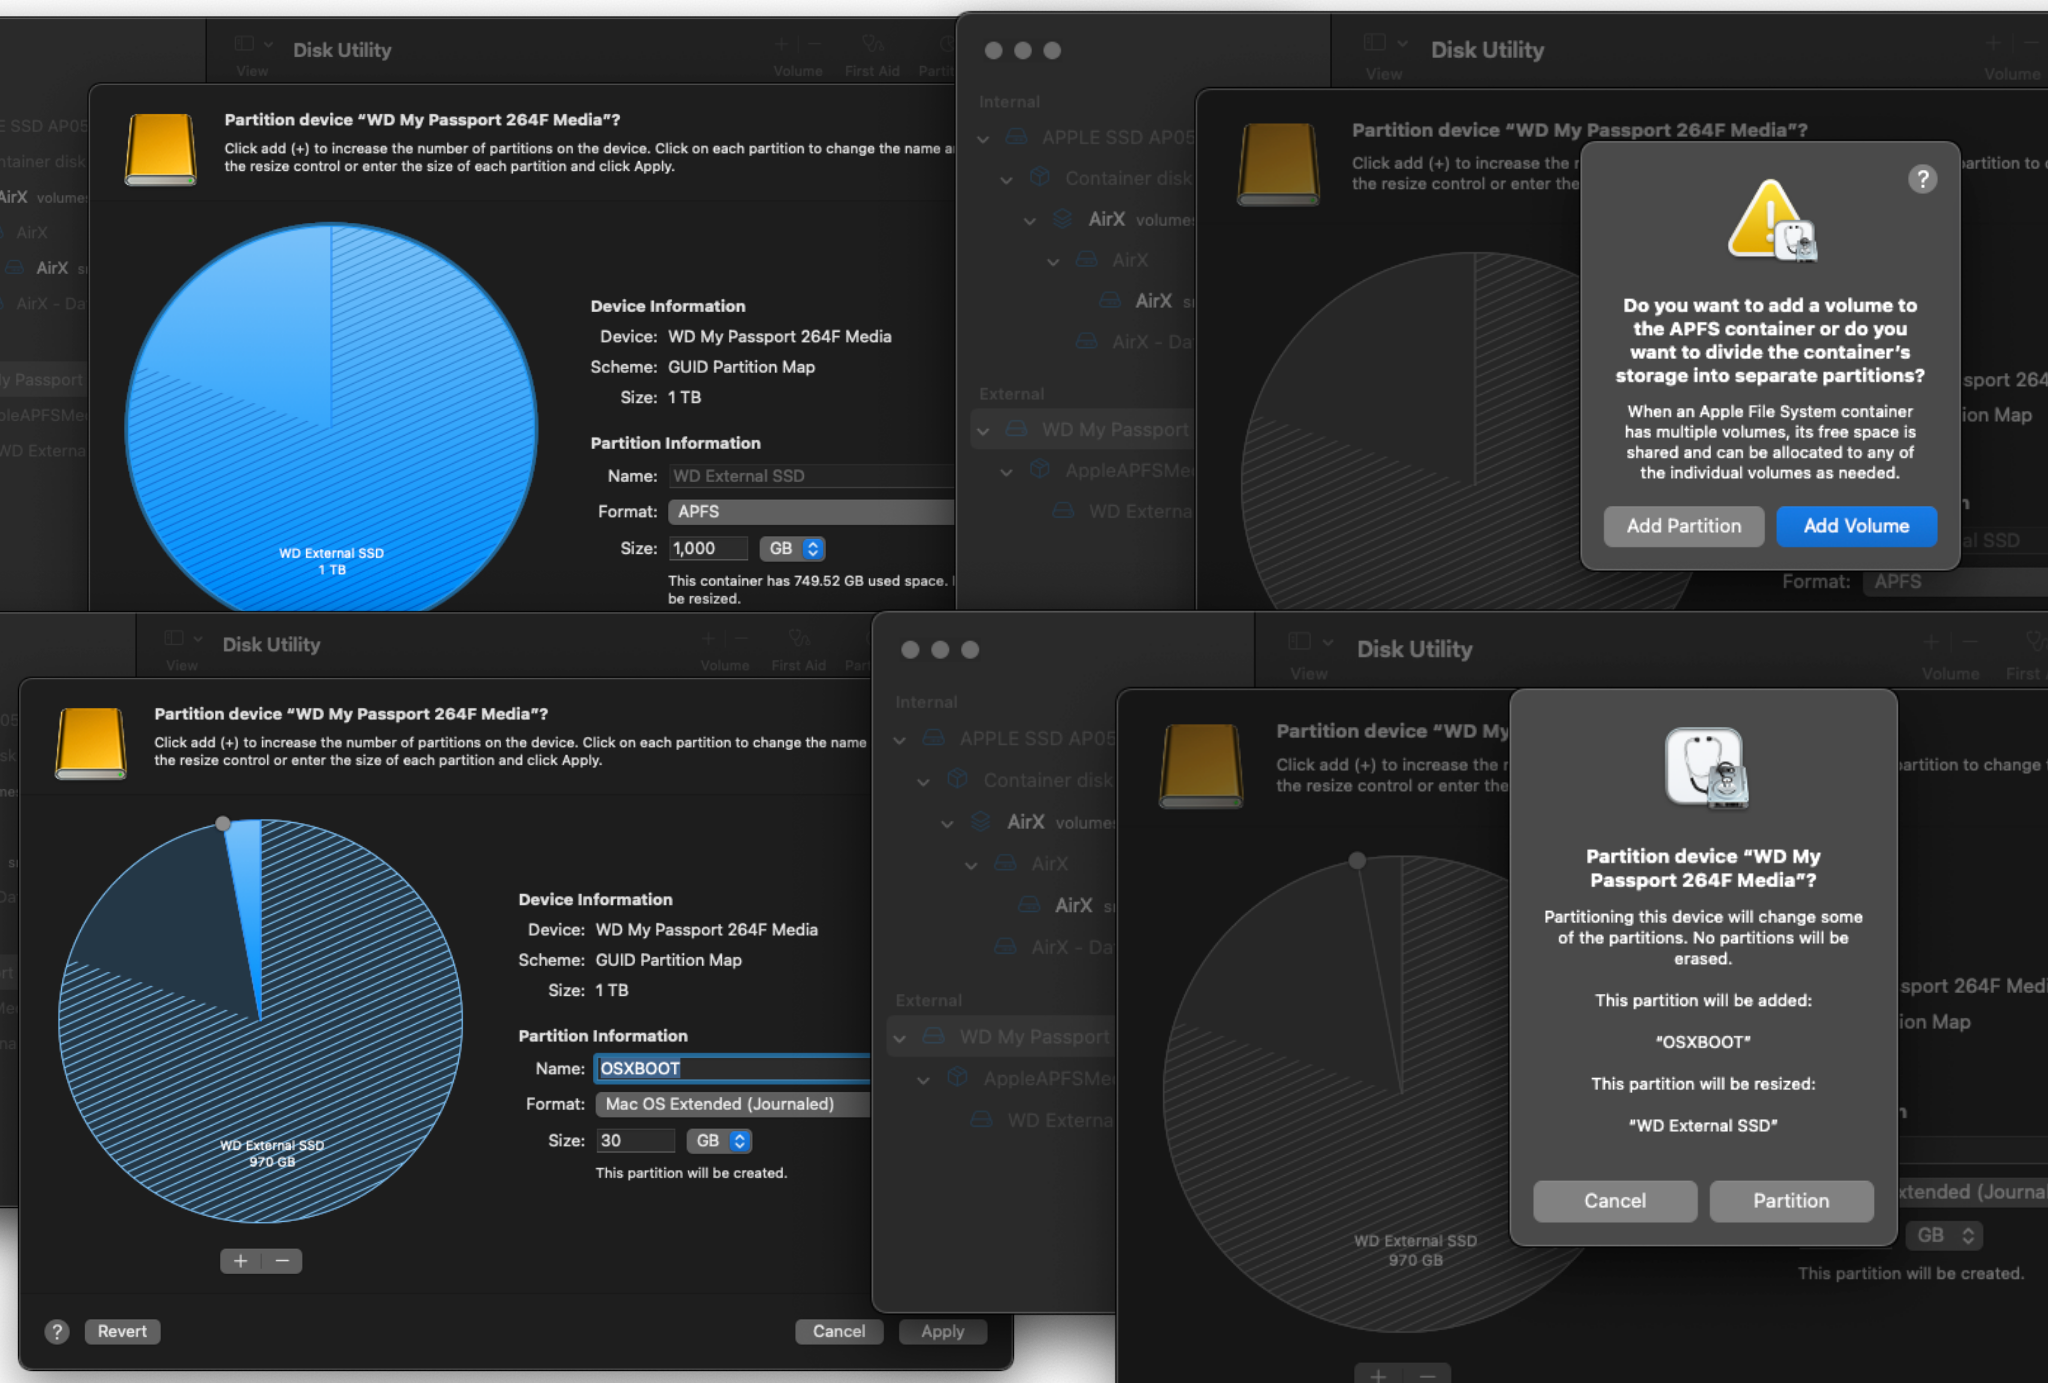
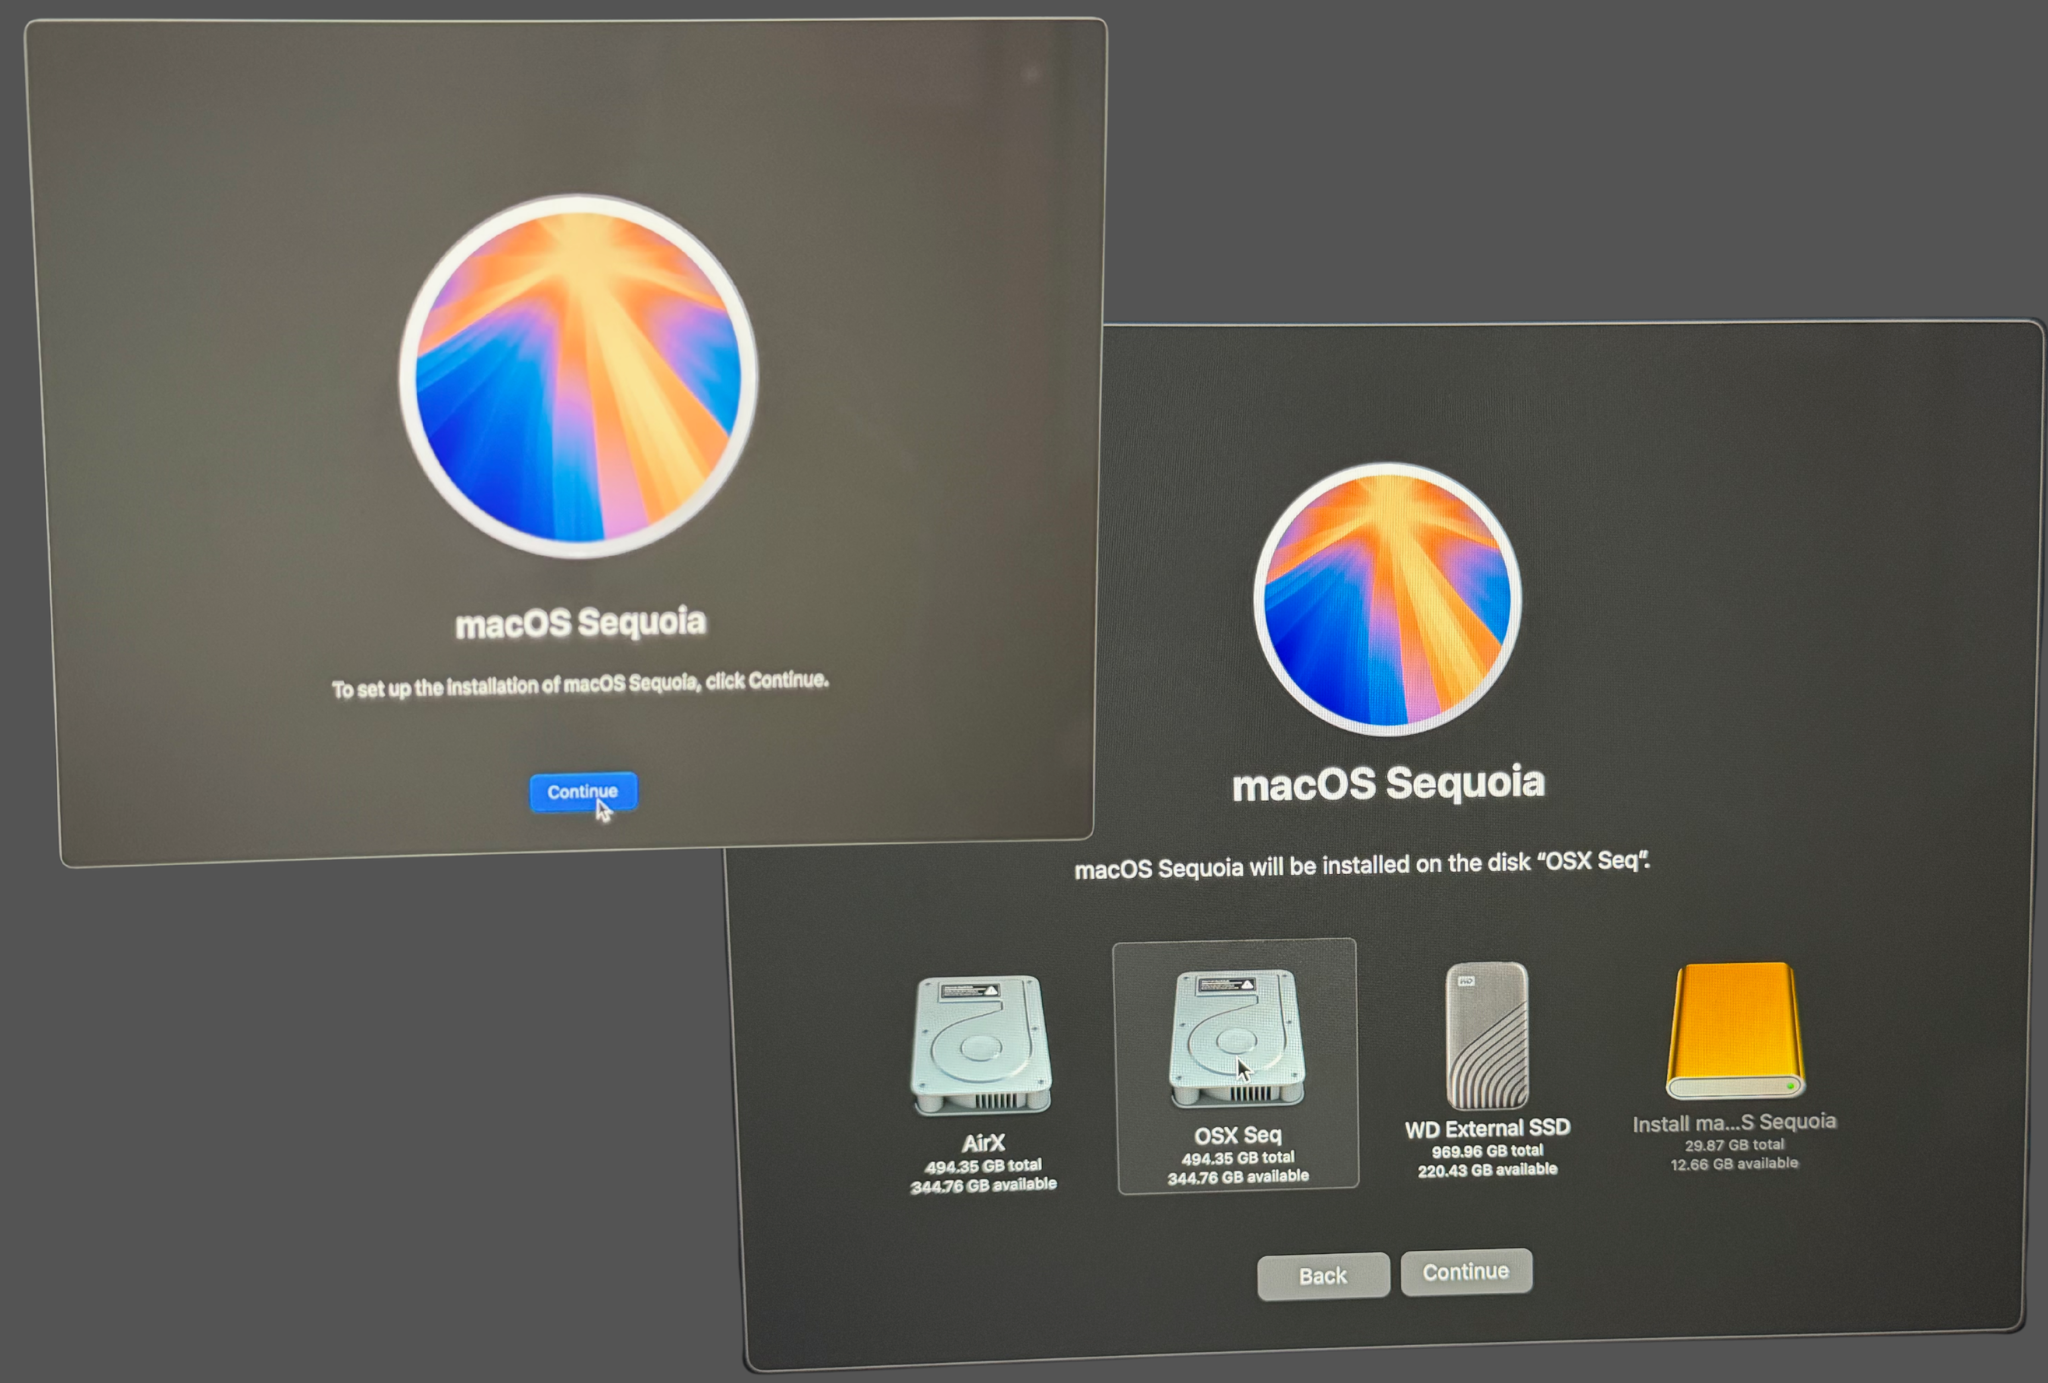
*If you don’t have a spare drive, you can create a new partition on your external drive and use it as the bootable drive. Be careful not to delete the existing partition or your data will be wiped. This is the workaround I used, and it worked perfectly. My data on the existing partition was not affected.